My AC Won’t Turn On: Troubleshooting Before You Call a Technician
When your AC system won’t turn on at all — no fan, no compressor, no response to thermostat changes — the cause is either an interruption in the electrical supply reaching the system (tripped breaker, blown fuse, safety switch activation, thermostat failure) or a failure of a startup component within the system itself (dead capacitor, burned contactor, failed control board, or seized compressor). About 30% of “AC won’t start” calls that Coastal Carolina Comfort responds to across South Carolina are resolved by the homeowner checks described below. The remaining 70% require professional diagnosis and repair.
Coastal Carolina Comfort provides same-day diagnostic service for systems that won’t start across Summerville, Charleston, Columbia, and the entire Lowcountry and Midlands. Our NATE-certified technicians carry the common startup components — capacitors, contactors, control boards — needed to restore your system in a single visit. Call (843) 708-8735.
Homeowner Troubleshooting: 6 Checks Before You Call
These checks are safe for any homeowner to perform and take less than 10 minutes total. Work through them in order.
Check 1: Thermostat Power and Settings
Start at the thermostat — it’s the most common cause of a system that appears dead.
Verify it has power. If the display is blank, the thermostat has lost power. Check whether it uses batteries (replace them) or is wired to the system (a tripped breaker or blown fuse at the air handler may have cut power to the thermostat).
Verify the settings. Ensure the system is set to “cool” (not “off,” “heat,” or “fan only”), the set temperature is at least 3–5°F below the current room temperature, and any scheduling or away modes aren’t overriding your settings.
Try a hard reset. Turn the thermostat completely off, wait 30 seconds, then turn it back to cooling mode. For smart thermostats, a power cycle or factory reset can resolve software glitches that prevent the system from responding.
If the thermostat appears to be working correctly — display is on, settings are correct, it shows “cooling” — but the system doesn’t respond, the issue is downstream.
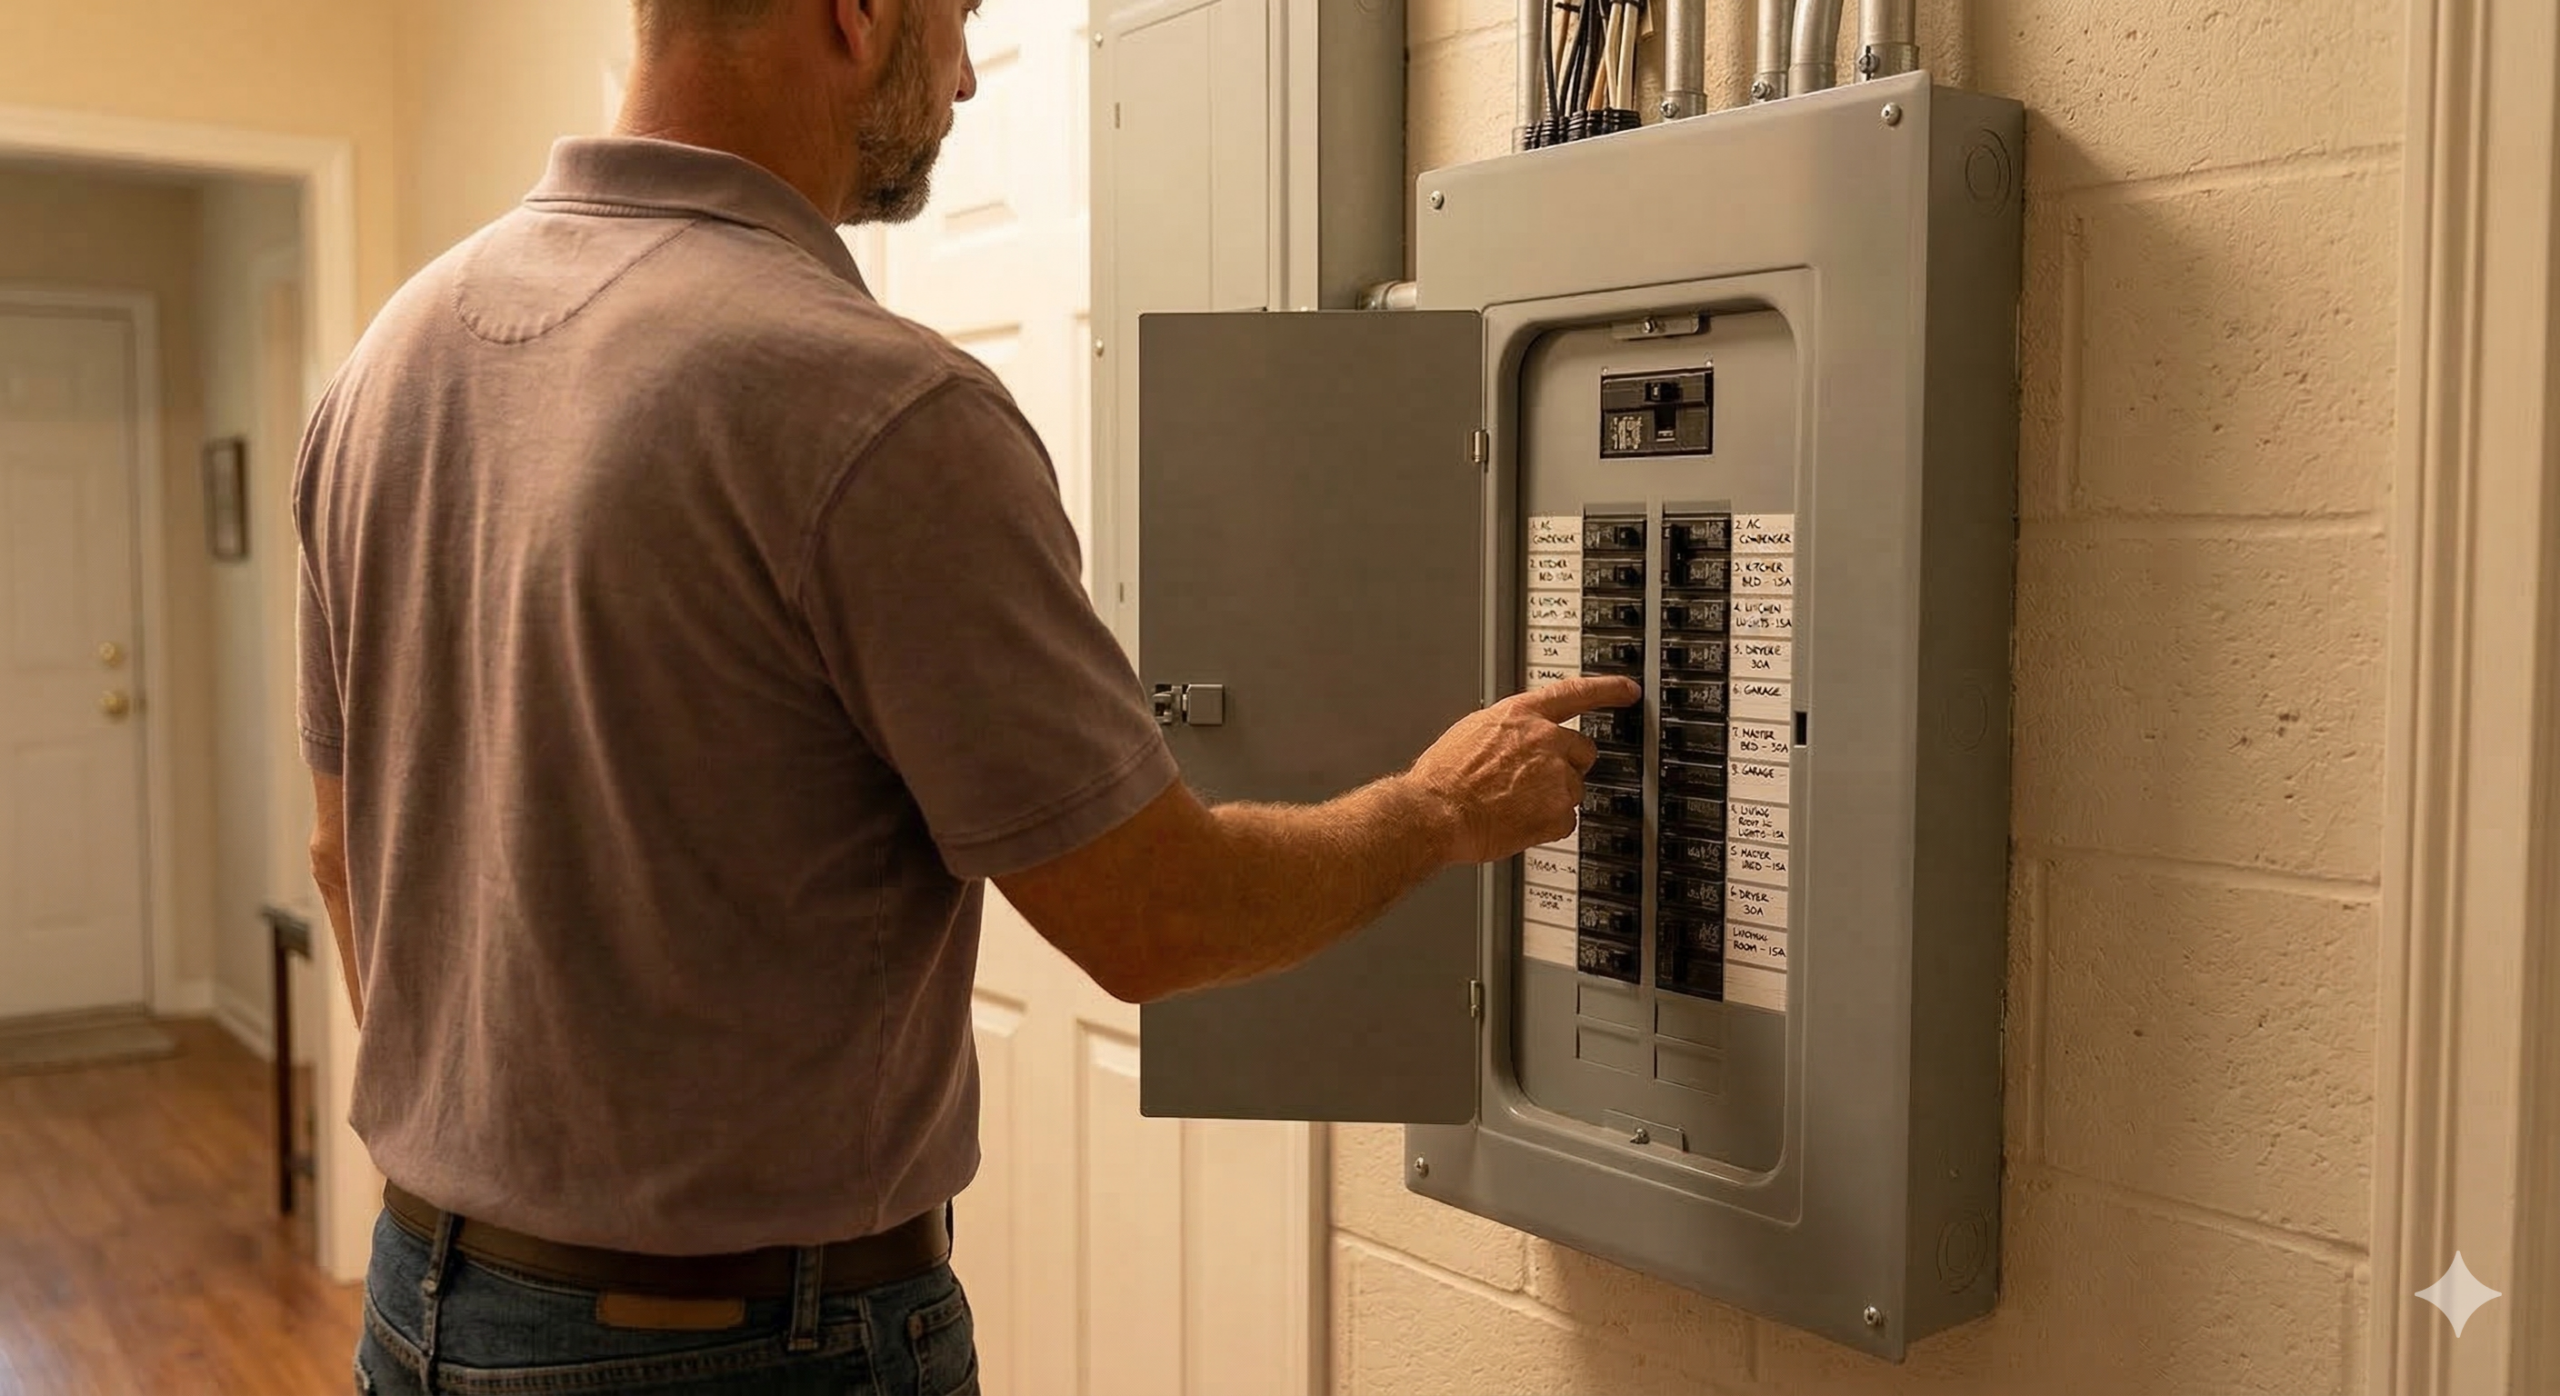
Check 2: Circuit Breakers
Your AC system typically uses two circuit breakers in your main electrical panel: one for the indoor air handler and one for the outdoor condenser unit. Check both.
Look for a tripped breaker. A tripped breaker sits in the middle position — not fully “on” and not fully “off.” Push it firmly to “off” first, then back to “on.” If the breaker holds and the system starts, monitor it. If the breaker trips again within minutes, do not reset it a third time — the system has an electrical fault that requires professional diagnosis.
Check for a blown fuse at the air handler. Some air handlers have a small fuse (typically 3–5 amp) on the control board that protects the low-voltage circuit. If this fuse blows, the thermostat loses its ability to communicate with the system. This fuse is accessible inside the air handler’s front panel — but if you’re not comfortable opening the panel, skip this check and call for service.
Check 3: Emergency Shutoff Switch
Many AC installations include a wall-mounted emergency shutoff switch that looks like a standard light switch — typically located near the indoor air handler or in the utility closet. If someone accidentally flipped this switch off (during maintenance, painting, or cleaning), the entire system is disabled.
Check for a switch near the air handler that might be in the “off” position. Flip it on and see if the system responds.
Check 4: Condensate Drain Safety Switch
Many South Carolina HVAC installations include a float switch on the condensate drain line that shuts the system down when the drain line clogs and water backs up. This is a safety feature designed to prevent water damage — but it also means a simple drain clog can make your entire AC system unresponsive.
If your system has a visible float switch on the drain line (a small device with a float attached to the PVC pipe near the air handler), check whether standing water is visible in the drain pan. If the pan is full, the float switch has activated. Clearing the drain line may restore system operation. Our guide on AC leaking water inside your house covers drain line clearing in detail.
Check 5: Outdoor Disconnect Box
Near your outdoor condenser unit, there’s a disconnect box — a small metal box mounted on the wall within a few feet of the unit. This box contains either a pull-out fuse block or a breaker that supplies power specifically to the outdoor unit.
Check that the disconnect is in the “on” position and that the fuses (if applicable) haven’t blown. A blown disconnect fuse is a common cause of a system where the indoor fan runs but the outdoor unit doesn’t respond at all.
Check 6: Wait 5 Minutes After Any Reset
Modern AC systems have built-in time delays that prevent the compressor from restarting too quickly after a shutdown — rapid cycling can damage the compressor. If you’ve reset a breaker, flipped a switch, or changed the thermostat, wait at least 5 minutes before concluding the system isn’t responding. The delay is protecting your equipment.
If the Homeowner Checks Don’t Work: Common Professional Repairs
When all homeowner-accessible checks fail to restore the system, one of these mechanical or electrical failures is typically the cause.
Failed Capacitor
The run capacitor provides the electrical boost the compressor and fan motors need to start. When it fails, the motors can’t overcome their starting inertia. You might hear a clicking sound from the outdoor unit as the contactor engages, followed by a hum and then silence — the system is trying to start but the capacitor can’t deliver.
Capacitor failure is the single most common reason an AC system won’t start. It’s also one of the most affordable repairs: $150–$300 including parts and labor. In South Carolina’s long cooling season, capacitors endure more startup cycles and more sustained electrical load than in cooler climates, shortening their typical lifespan.
Burned or Pitted Contactor
The contactor is the electrical relay that connects power to the compressor and condenser fan when the thermostat calls for cooling. Over thousands of cycles, the contactor’s electrical contacts pit, corrode, and eventually fail to close or weld shut.
A failed-open contactor means the outdoor unit receives no power even though the thermostat is calling for cooling — the system appears completely dead from the outside. A welded-shut contactor means the outdoor unit runs continuously regardless of thermostat input.
Contactor replacement typically costs $150–$275.
Control Board Failure
The control board in your air handler is the system’s electronic brain — it receives the thermostat signal and coordinates the startup sequence for the blower motor, compressor, and condenser fan. When a relay on the board fails, or the board itself is damaged by a power surge, the system may receive the thermostat’s call for cooling but fail to execute the startup.
South Carolina’s summer thunderstorm pattern — particularly the daily afternoon storms across the Midlands and Lowcountry — creates frequent power surges that damage sensitive control board components. A whole-home surge protector can prevent most storm-related control board failures.
Control board replacement typically costs $300–$700 depending on the system brand and board availability.
Seized or Failed Compressor
A compressor that has seized — due to internal bearing failure, liquid slugging, or overheating — will draw extremely high amperage when it tries to start, immediately tripping the circuit breaker or the compressor’s internal overload protection. The system appears to try to start and then shuts down instantly.
This is the most serious diagnosis on this list. Compressor replacement costs $1,500–$3,000+, and on systems over 10 years old, it often triggers a conversation about whether to repair or replace the entire AC system.
Blown Transformer
The transformer steps down your home’s 240-volt power to the 24-volt signal that the thermostat uses to communicate with the system. A failed transformer means the thermostat can’t talk to the system at all — the thermostat display goes blank (if it’s not battery-powered) and the system is completely unresponsive.
Transformer replacement is typically $150–$350 and is a relatively quick repair.
When “Won’t Turn On” Is an Emergency
A dead AC system isn’t always an emergency — but in South Carolina summer, certain circumstances make it one.
Call for same-day emergency service if: indoor temperatures are climbing above 85°F with vulnerable residents in the home, you smell burning from the system even though it’s not running, the breaker trips repeatedly, or the outdoor unit is making loud buzzing or humming sounds without starting (indicating possible electrical arcing).
For Lowcountry emergencies, contact Coastal Carolina Comfort for emergency AC repair in the Lowcountry. Columbia and Midlands homeowners can reach us for emergency AC repair in Columbia.
For scheduled service, homeowners in the Summerville area can reach us for AC repair in Summerville, SC. Charleston-area homeowners can contact us for AC repair in Charleston, SC. Columbia and Midlands residents, we provide AC repair in Columbia and the Midlands.
Frequently Asked Questions
Q: Why did my AC suddenly stop working?
The most common causes of a sudden, complete AC shutdown are a tripped circuit breaker (often from a power surge during a storm), a failed capacitor (the compressor can’t start), a blown fuse at the air handler or disconnect box, or an activated condensate safety switch from a clogged drain line. Start with the homeowner troubleshooting checks above — about 30% of sudden shutdowns are resolved without a service call.
Q: My thermostat says “cooling” but nothing is happening. What’s wrong?
The thermostat is sending the cooling signal, but the system isn’t responding. This is typically caused by a tripped breaker on the outdoor unit’s circuit (the indoor fan may also be off if both breakers tripped), a failed capacitor or contactor in the outdoor unit, or a blown low-voltage fuse at the air handler. Check your breakers first. If they’re fine, you need professional diagnosis.
Q: How much does it cost to fix an AC that won’t turn on?
Costs range from $0 (if you resolve it yourself with a breaker reset or thermostat battery change) to $150–$350 for a capacitor, contactor, or transformer replacement, to $300–$700 for a control board, up to $1,500–$3,000+ for a compressor replacement. The most common professional repair — a failed capacitor — is also one of the most affordable at $150–$300. See our full AC repair cost guide for South Carolina.
Q: Should I keep trying to reset the breaker if my AC trips it?
No. Reset the breaker once. If it holds and the system runs normally, it was likely a one-time power surge event. If the breaker trips again within minutes, stop resetting it — the system has an electrical fault (ground fault in the compressor, short in the wiring, or a failed component drawing excessive current). Repeatedly resetting a tripping breaker risks electrical damage to your system and potential safety hazards.
Q: Can a power outage damage my AC system?
The outage itself rarely causes damage. The danger comes from the power surge when electricity is restored. Voltage spikes during power restoration can damage capacitors, control boards, transformers, and compressor windings. If your AC doesn’t start after a power outage, a surge-damaged component is the most likely cause. A whole-home surge protector — installed at your breaker panel — is the best long-term protection.
Related Reading
- Signs Your AC Needs Repair (And When to Call a Pro) — A system that won’t start is a clear sign your AC needs repair.
- Emergency AC Repair: What to Do When Your AC Breaks Down in the Lowcountry Heat — When “won’t turn on” becomes an emergency.
- AC Making Strange Noises: What Each Sound Means — When your AC tries to start but produces unusual sounds instead.
- AC Repair vs. Replacement: How to Make the Right Call — When a failed compressor means it’s time for a new system.
- How Much Does AC Repair Cost in South Carolina? — Complete pricing for every startup-related repair.
Dead AC? Don’t sweat it — literally. Coastal Carolina Comfort diagnoses why your system won’t start and gets it running, same day.
Call (843) 708-8735 for same-day AC diagnostic service across Summerville, Charleston, Columbia, and all of South Carolina.
Last Updated: March 2026

