 Duct Cleaning After Home Renovation: Why It’s Essential for Your Health and HVAC System
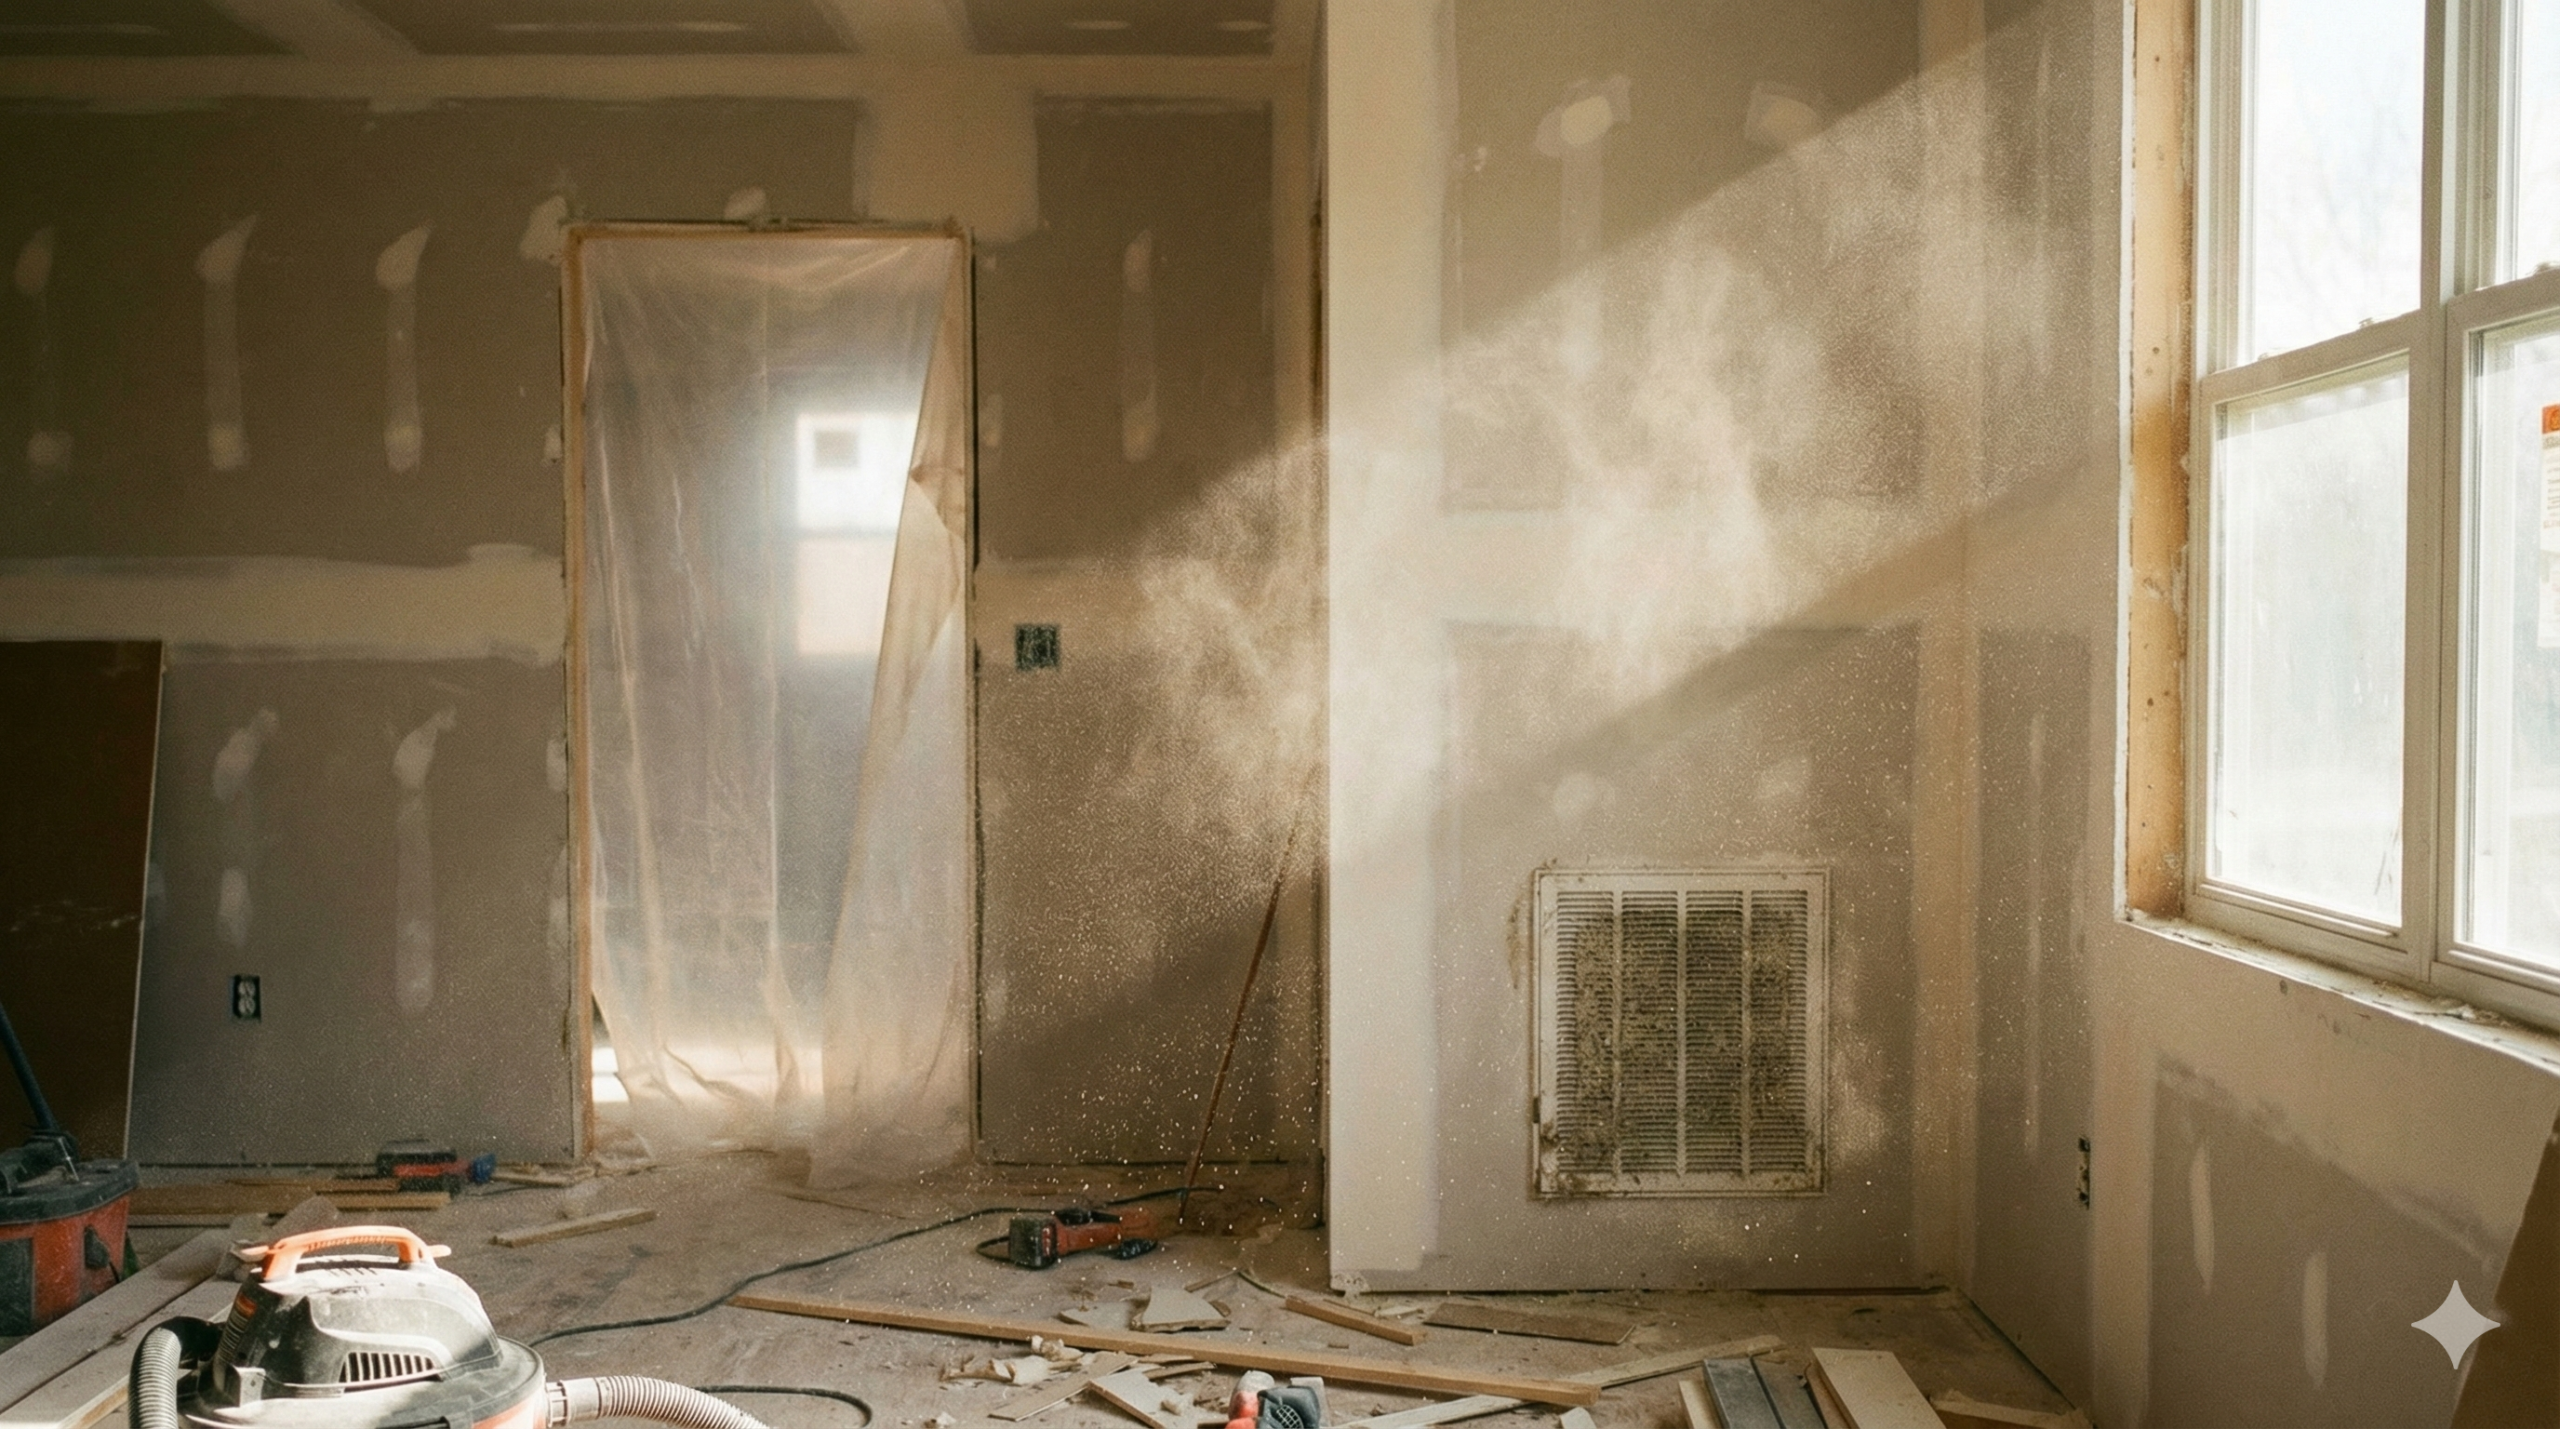
Duct cleaning after a home renovation is essential—not optional. Construction projects generate massive amounts of dust, drywall particles, sawdust, and debris that infiltrate your HVAC system regardless of protective measures. This material settles throughout your ductwork and recirculates every time your system runs, degrading indoor air quality and straining your HVAC equipment. Post-renovation duct cleaning removes construction contaminants before they cause respiratory irritation, trigger allergies, or damage your heating and cooling system. For Summerville homeowners who’ve completed any significant remodeling project, scheduling duct cleaning immediately after construction ends protects both your family’s health and your HVAC investment.
The Hidden Cost of Home Renovations
You’ve survived weeks or months of construction chaos. The contractors are gone, the final punch list is complete, and your newly renovated space looks beautiful.
But there’s something you can’t see: your ductwork is full of construction debris.
Even the most careful contractors can’t prevent fine particles from becoming airborne during renovation work. Cutting, sanding, drilling, and demolition all generate dust that travels throughout your home—including into your HVAC system. Once there, it doesn’t just disappear. It waits for your system to turn on, then distributes throughout every room in your house.
That “new construction smell” everyone talks about? Part of it is construction dust circulating through your air.
What Renovation Projects Leave Behind
Different types of projects generate different contaminants. Here’s what accumulates in your ducts based on common renovation work:
Drywall Installation and Repair
Drywall work is one of the worst offenders for duct contamination. The process generates:
- Drywall dust: Extremely fine particles that become airborne easily and travel far from the work area
- Joint compound dust: Created during sanding of seams and patches
- Gypsum particles: The calcium sulfate that makes up drywall’s core
Drywall dust is particularly problematic because of its fine particle size. It passes through standard air filters, settles deep in ductwork, and can take weeks to fully clear from indoor air without intervention.
Flooring Projects
Flooring installation and refinishing introduce various contaminants:
| Flooring Type | Contaminants Generated |
|---|---|
| Hardwood sanding/refinishing | Wood dust, finish fumes, polyurethane VOCs |
| Tile installation | Thinset dust, grout particles, tile cutting debris |
| Carpet removal | Old carpet fibers, dust, adhesive residue, trapped allergens |
| Laminate/vinyl installation | Cutting dust, adhesive fumes |
Hardwood floor sanding is especially concerning. The fine wood dust travels throughout the home, and the finishing products release volatile organic compounds (VOCs) that can linger for weeks.
Kitchen and Bathroom Remodels
These comprehensive projects combine multiple contamination sources:
- Demolition debris from removing old fixtures, cabinets, and surfaces
- Drywall dust from wall modifications
- Tile and grout dust from backsplash or floor work
- Plumbing modifications that may disturb existing dust in wall cavities
- Paint fumes and primer off-gassing
Room Additions and Major Structural Work
Large-scale projects introduce the full spectrum of construction contaminants:
- Concrete and masite dust from foundation work
- Framing sawdust from lumber cutting
- Insulation fibers (fiberglass or cellulose)
- Roofing material particles
- Exterior debris tracked through the home
Painting Projects
Even “simple” painting projects affect air quality:
- Paint fumes and VOCs during application
- Sanding dust from surface preparation
- Primer off-gassing
- Caulk and sealant fumes
Why Protective Measures Aren’t Enough
Good contractors take precautions during renovation work. They may:
- Seal off work areas with plastic sheeting
- Cover supply and return vents
- Use negative air pressure machines
- Clean up debris daily
These measures help—but they don’t eliminate the problem.
The Limitations of Containment
Plastic barriers leak. Even carefully taped plastic sheeting has gaps at seams, floors, and ceilings. Fine dust particles find their way through.
Vent covers aren’t airtight. Covering vents with plastic or tape reduces debris entry but doesn’t stop it completely. Pressure differentials in your home still draw air—and particles—toward return vents.
Dust travels through unexpected paths. Construction dust migrates through electrical outlets, gaps around pipes, and other penetrations in walls and ceilings. It doesn’t respect containment barriers.
HVAC systems run during construction. Unless you completely shut down your heating and cooling for the duration of the project (impractical for most renovations), your system circulates air—and whatever’s in it.
The Cumulative Effect
A single day of drywall sanding can introduce pounds of fine dust into your home’s air. Multiply that by weeks or months of construction activity, and the accumulation in your ductwork becomes significant.
Even if 90% of construction debris is contained or cleaned up, the remaining 10% ends up somewhere—and much of it ends up in your ducts.
Health Concerns from Post-Renovation Air Quality
Construction dust isn’t just unpleasant—it can affect your health.
Respiratory Irritation
Fine particles from drywall, wood, and other construction materials irritate the respiratory system. Symptoms include:
- Coughing and throat irritation
- Nasal congestion and runny nose
- Shortness of breath
- Chest tightness
- Aggravated asthma symptoms
These symptoms often persist for weeks after renovation completion if ductwork isn’t cleaned.
Silica Exposure
Many construction materials contain crystalline silica, including:
- Concrete and morite
- Drywall joint compound
- Tile and grout
- Some paints and coatings
Inhaling silica dust can cause serious respiratory issues. While brief exposure during home renovation isn’t equivalent to occupational exposure, minimizing inhalation is prudent—especially for children, elderly family members, or anyone with respiratory conditions.
VOC Exposure
Volatile organic compounds off-gas from:
- Paints and stains
- Adhesives and sealants
- Flooring materials
- Cabinetry and countertops (especially engineered products)
VOCs can cause headaches, dizziness, eye and throat irritation, and in some cases, more serious health effects. While duct cleaning doesn’t remove VOCs directly, removing dust that has absorbed these compounds reduces one exposure pathway.
Allergen Redistribution
Renovation work disturbs settled dust throughout your home—including allergens that had been dormant. Old carpet removal, wall demolition, and attic work can release years of accumulated:
- Dust mites and their waste
- Pet dander from previous occupants
- Pollen trapped in building materials
- Other allergenic particles
If you or family members have allergies, post-renovation air quality can trigger significant symptoms until these redistributed allergens are removed.
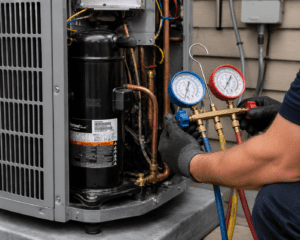
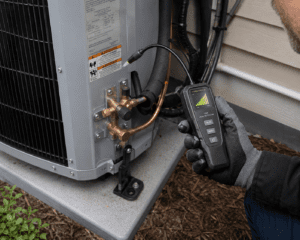
Impact on Your HVAC System
Construction debris doesn’t just affect air quality—it threatens your HVAC equipment.
Clogged Air Filters
Your air filter is the first line of defense, and renovation debris overwhelms it quickly. A filter that normally lasts three months may clog in days during active construction. If not changed frequently, a clogged filter:
- Restricts airflow, forcing your system to work harder
- Allows debris to bypass the filter entirely
- Reduces heating and cooling efficiency
- Can cause system overheating or freezing
Contaminated Evaporator Coils
Fine dust that passes through your filter can coat the evaporator coil—the component that actually cools your air. Dust-coated coils:
- Transfer heat less efficiently
- Increase energy consumption
- Can develop drainage problems as dust mixes with condensation
- May require professional cleaning to restore function
Blower Motor Strain
Dust accumulation on the blower motor and fan blades creates imbalance and resistance. This leads to:
- Increased energy consumption
- Unusual noises during operation
- Premature motor wear
- Potential motor failure
Ductwork Buildup
Construction debris that settles in ductwork doesn’t just affect air quality—it restricts airflow. Significant buildup can:
- Reduce heating and cooling efficiency
- Create uneven temperatures between rooms
- Increase system runtime and energy costs
- Provide a foundation for biological growth if moisture is present
When to Schedule Post-Renovation Duct Cleaning
Timing matters for post-renovation duct cleaning:
After All Work Is Complete
Don’t clean ducts while construction is ongoing—you’ll just need to clean them again. Wait until:
- All construction, painting, and finishing work is done
- Final cleanup has been performed
- Contractors have completed their punch list
- No additional dust-generating work is planned
Before Moving Furniture Back
If possible, schedule duct cleaning before fully furnishing the renovated space. This provides:
- Better access to all vents and returns
- Easier cleanup of any dislodged debris
- A truly fresh start in your new space
Within Two Weeks of Project Completion
Don’t wait too long. The sooner you remove construction debris from your ducts, the less time it has to:
- Circulate through your home
- Settle deeper into ductwork
- Affect your health and HVAC system
- Compact and become harder to remove
Before Occupying New Construction
If you’ve built a new home, schedule duct cleaning before moving in. New construction ductwork contains:
- Sawdust and wood shavings
- Drywall dust and joint compound
- Insulation fibers
- General construction debris
- Possibly forgotten materials (screws, wire nuts, lunch wrappers—we’ve seen it all)
Many builders don’t include duct cleaning in their scope. Don’t assume new means clean.
What Post-Renovation Duct Cleaning Involves
Post-renovation cleaning is more intensive than routine maintenance cleaning due to the volume and type of debris involved.
Comprehensive Inspection
Technicians assess the extent of contamination throughout your duct system, identifying areas with heavy buildup and any damage that may have occurred during construction.
Aggressive Agitation
Construction debris—especially compacted drywall dust—requires more aggressive agitation than routine dust. Technicians use rotating brushes and compressed air to dislodge material that has adhered to duct surfaces.
Thorough Extraction
High-powered vacuums with HEPA filtration extract loosened debris. For post-renovation cleaning, this process may take longer than routine service due to the volume of material.
Air Handler Cleaning
The blower compartment, evaporator coil housing, and other accessible components receive attention to remove construction dust that has accumulated on HVAC equipment.
Filter Replacement
Your existing filter—likely clogged with construction debris—should be replaced. Consider upgrading to a higher-efficiency filter (MERV 11–13) to capture any residual fine particles.
Protecting Your Ducts During Future Renovations
Planning another project? These steps minimize duct contamination:
Before Construction Begins
- Replace your air filter with an inexpensive basic filter you don’t mind discarding
- Seal supply vents in the work area with plastic and tape
- Seal return vents throughout the home (returns pull air—and dust—from everywhere)
- Consider shutting off HVAC to the work area if your system allows zone control
During Construction
- Change filters frequently—weekly during heavy dust-generating work
- Run the fan continuously with a high-efficiency filter to capture airborne particles (consult your HVAC technician about whether your system supports this)
- Maintain containment barriers and repair any breaches promptly
- Request dust control measures from your contractor (wet cutting, vacuum-attached tools, negative air machines)
After Construction
- Schedule duct cleaning promptly after project completion
- Replace filters again after duct cleaning
- Consider air quality testing if you have health concerns or sensitive family members
New Construction: A Special Case
Buying or building a new home? Don’t assume the ductwork is clean.
What We Find in New Construction Ducts
After years of cleaning ducts in newly built Summerville homes—from Nexton to Cane Bay to Carnes Crossroads—we’ve removed:
- Pounds of sawdust and drywall dust
- Insulation fibers and scraps
- Fasteners, wire nuts, and small hardware
- Food wrappers and beverage containers
- Cigarette butts (unfortunately common)
- Pieces of lumber and drywall
- Spray foam overspray
- General construction trash
Builders focus on completing the structure, passing inspections, and closing sales. Duct cleanliness isn’t typically a priority—or even a consideration.
Protecting Your Investment
A new HVAC system in a new home represents a significant investment—often $8,000–$15,000 or more. Running that system with debris-filled ducts:
- Reduces efficiency from day one
- Accelerates wear on components
- May void warranty coverage if damage results
- Compromises the air quality you expect from a new home
Duct cleaning before or shortly after moving in protects that investment and ensures you’re actually breathing clean air in your new home.
How Coastal Carolina Comfort Handles Post-Renovation Cleaning
We’ve cleaned ducts after every type of renovation imaginable—from simple bathroom updates to complete gut rehabs. Our post-renovation duct cleaning service addresses the unique challenges construction debris presents:
- Thorough assessment of contamination levels throughout your system
- Aggressive cleaning methods appropriate for construction debris
- HEPA-filtered extraction that captures fine particles instead of redistributing them
- Air handler attention to remove dust from HVAC components
- Honest evaluation of your system’s condition after construction
We also know what we’re not qualified to do. If we observe potential moisture issues or anything that looks like it might require mold assessment, we’ll recommend you consult a certified mold professional before we proceed. Construction can sometimes create conditions conducive to moisture problems, and that requires specialized expertise beyond duct cleaning.
Just finished a renovation? Schedule your post-construction duct cleaning and breathe easy in your newly updated home.
Frequently Asked Questions
How long after renovation should I wait to clean ducts? Wait until all construction, painting, and finishing work is complete—including contractor punch list items. Once no more dust-generating work will occur, schedule cleaning within one to two weeks. Don’t wait months; the sooner debris is removed, the better.
Should I clean ducts after just painting? For a simple repaint with minimal prep work, duct cleaning usually isn’t necessary—though changing your air filter is wise. However, if painting involved significant sanding, drywall repair, or was part of a larger renovation, duct cleaning is recommended.
My contractor cleaned up thoroughly. Do I still need duct cleaning? Yes. Contractors clean visible surfaces—floors, countertops, fixtures. They don’t clean inside your ductwork, and that’s where fine particles settle. Even excellent post-construction cleaning doesn’t address duct contamination.
Will my home warranty cover post-renovation duct cleaning? Typically no. Home warranties cover system failures, not maintenance services. However, cleaning ducts after renovation may help preserve warranty coverage on your HVAC system by preventing damage from debris.
How much does post-renovation duct cleaning cost? Post-renovation cleaning typically costs the same as standard duct cleaning—$300–$500 for most Summerville homes. Severely contaminated systems or very large homes may cost more. We provide written estimates based on your specific situation.