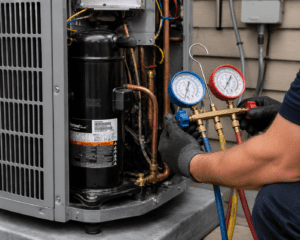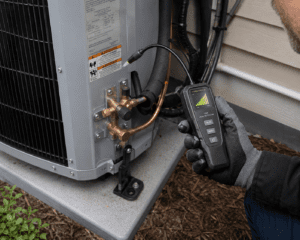
with Coastal Carolina Comfort
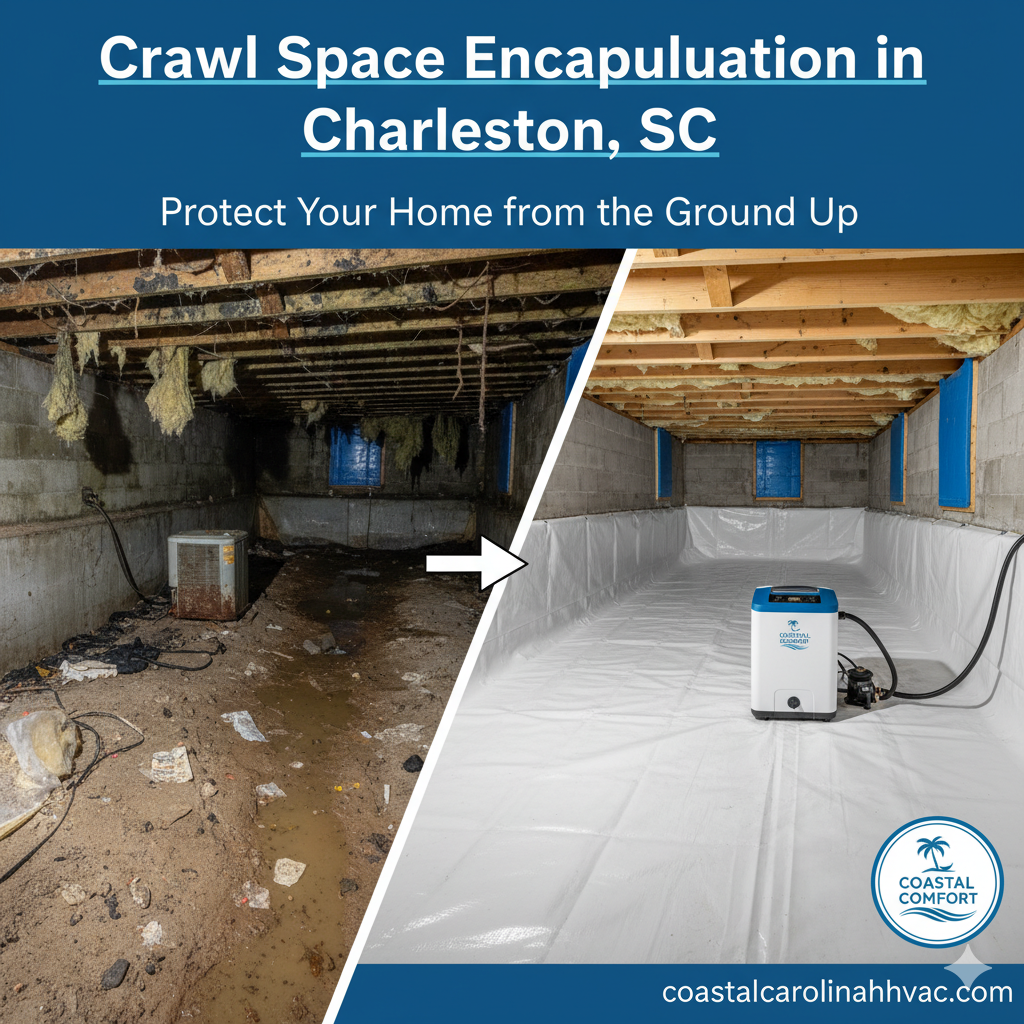
Beneath many Lowcountry homes lies a hidden source of trouble: a damp, musty, dirt-floor crawl space. Vented to the humid outside air, this dark, often neglected area becomes a breeding ground for mold, mildew, and pests. This doesn’t just stay in the crawl space; it rises up into your home, affecting your air quality and even your home’s structural integrity.
At Coastal Carolina Comfort, we believe true home comfort goes beyond just heating and cooling. It’s about creating a healthy living environment for your family. That’s why providing a solution to problematic crawl spaces is a crucial part of our mission to deliver complete home comfort and HVAC services in Charleston.
Why Are Vented Crawl Spaces a Problem in Our Climate?
The old way of thinking was that vents would allow a crawl space to “breathe.” In the hot, humid climate of Charleston, this does the exact opposite.
- It Invites Humidity: Hot, moist summer air enters the cool crawl space, and the moisture condenses on every surface—floor joists, insulation, and ductwork.
- It Promotes Mold Growth: This constant moisture creates the perfect environment for mold and mildew to thrive, which can release musty odors and harmful spores into your home’s air.
- It Attracts Pests: Termites, roaches, and rodents love dark, damp environments.
- It Wastes Energy: Your HVAC system and ductwork running through this damp space have to work much harder to cool your home, leading to higher energy bills.
What is Crawl Space Encapsulation? The Solution.
Crawl space encapsulation is the process of completely sealing your crawl space from the outside elements. We isolate it from the ground and the humid air, transforming it into a clean, dry, and conditioned part of your home.
Our comprehensive encapsulation process includes:
- Cleaning and Preparation: We start by clearing out any old debris, failing insulation, and addressing any pest or standing water issues.
- Sealing All Vents and Gaps: We completely seal off the foundation vents and any other air leaks from the outside.
- Installing a Heavy-Duty Vapor Barrier: We lay down a thick, durable, puncture-resistant liner that covers the entire floor and runs up the foundation walls, completely separating your home from the damp earth.
- Conditioning the Air: We install a specialized crawl space dehumidifier to control the moisture levels, ensuring the air remains clean and dry year-round.
The Benefits of an Encapsulated Crawl Space
Investing in encapsulation pays you back in numerous ways:
- Healthier Indoor Air Quality: By eliminating mold and mildew at the source, you stop musty odors and reduce the allergens circulating in your home.
- Increased Energy Efficiency: Your HVAC system operates more efficiently in a dry environment, potentially lowering your heating and cooling costs by up to 20%.
- Protects Your Home’s Structure: Dry floor joists and subflooring are protected from wood rot, preserving the structural integrity of your home.
- Added Pest Protection: A sealed, dry space is far less inviting to termites and other unwanted guests.
- Creates Usable Storage Space: Your newly clean and dry crawl space can be used for light storage.
Is Encapsulation Right for Your Lowcountry Home?
If your home has a dirt or concrete crawl space, you are a candidate. If you’ve ever noticed a musty smell, have allergy symptoms that are worse at home, or have seen moisture on your ductwork, it’s time to get your crawl space inspected.
Let our team of down-to-earth experts provide you with a free, no-obligation assessment and show you how encapsulation can transform the health and comfort of your home.
Schedule Your Free Crawl Space Estimate Today! Call (843)708-8735 or contact us online to learn more.
Frequently Asked Questions About Crawl Space Encapsulation
You can add this section to the bottom of the Crawl Space Encapsulation article, just before the final call-to-action.
- How much does crawl space encapsulation cost in Charleston, SC? The cost can vary significantly based on the size and condition of your crawl space (e.g., if cleaning or mold remediation is needed first). For a typical home in our area, you can generally expect the investment to be between $5,000 and $15,000. We provide a free, no-obligation estimate that gives you an exact, upfront price for your specific home.
- Can I just install a dehumidifier and not the vapor barrier? While a dehumidifier is a critical part of the system, it won’t be effective on its own. Without the sealed vapor barrier, the dehumidifier would be constantly fighting to remove moisture from the endless supply of humid air flowing in from the outside and rising from the ground. This would be incredibly inefficient and would not solve the core problem.
- Is crawl space encapsulation really worth it in South Carolina? Absolutely. In a humid coastal climate like ours, it’s one of the best investments you can make. It protects your home’s structure from wood rot, significantly improves indoor air quality by stopping mold at the source, and can lower your heating and cooling costs by up to 20% by creating a more stable environment for your HVAC system and ductwork.
- How long does the installation process take? For an average-sized home, our professional team can typically complete the entire encapsulation process in 1 to 3 days. We work efficiently to minimize any disruption to your home life.