
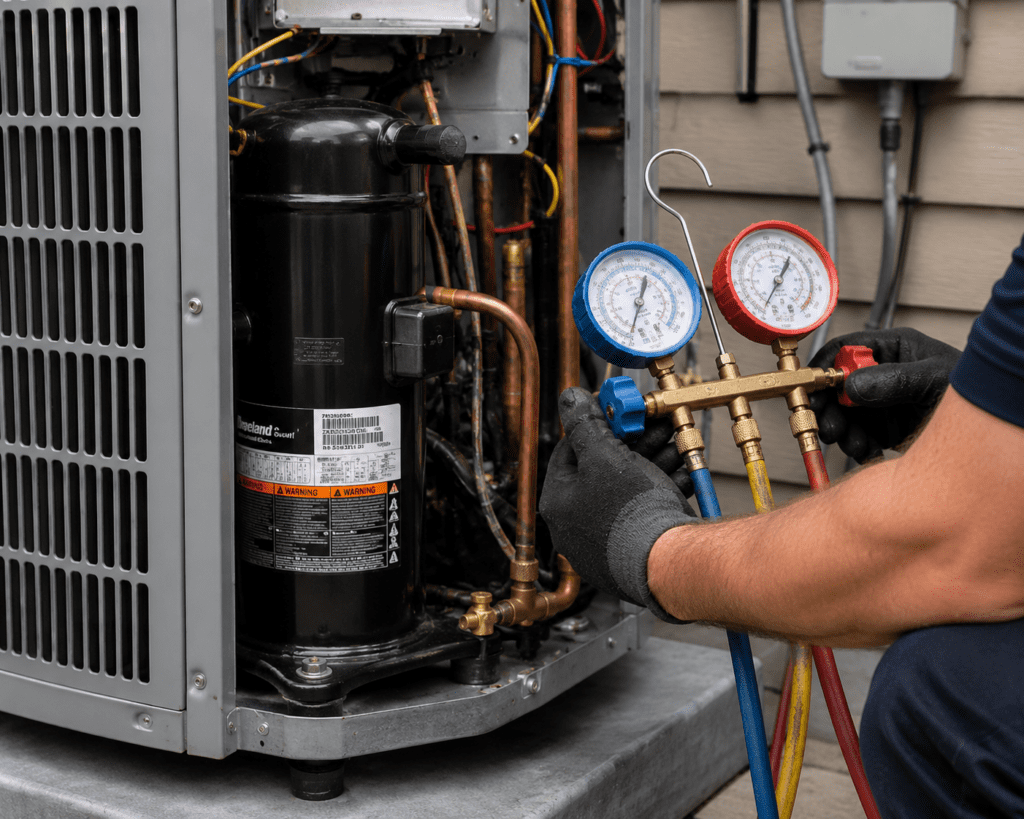
AC Compressor Failure: How to Tell, and Why the Math Usually Points to Replacement
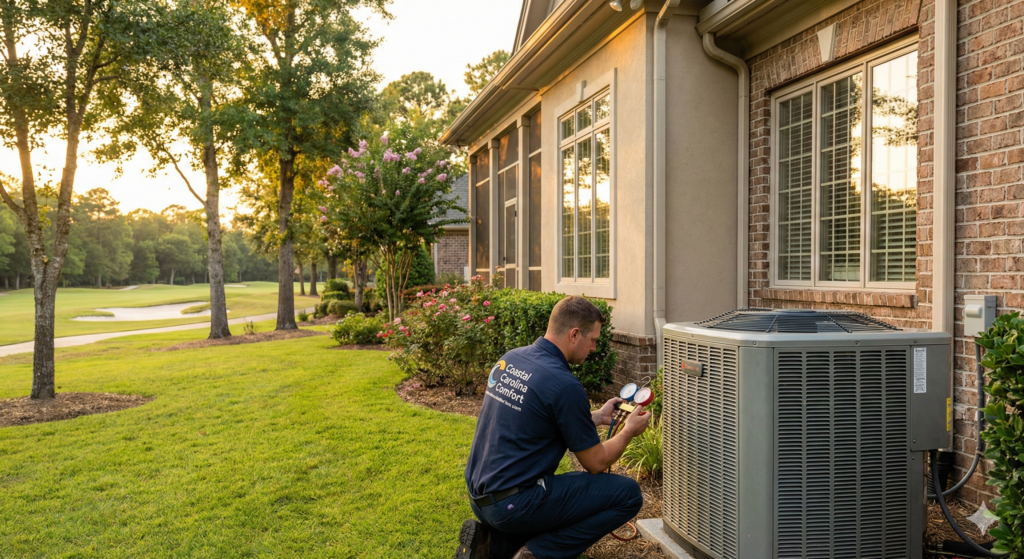
AC Compressor Failure: How to Tell, and Why the Math Usually Points to Replacement By the Coastal Carolina Comfort team · Last updated 2026-05-20 The compressor is the heart of
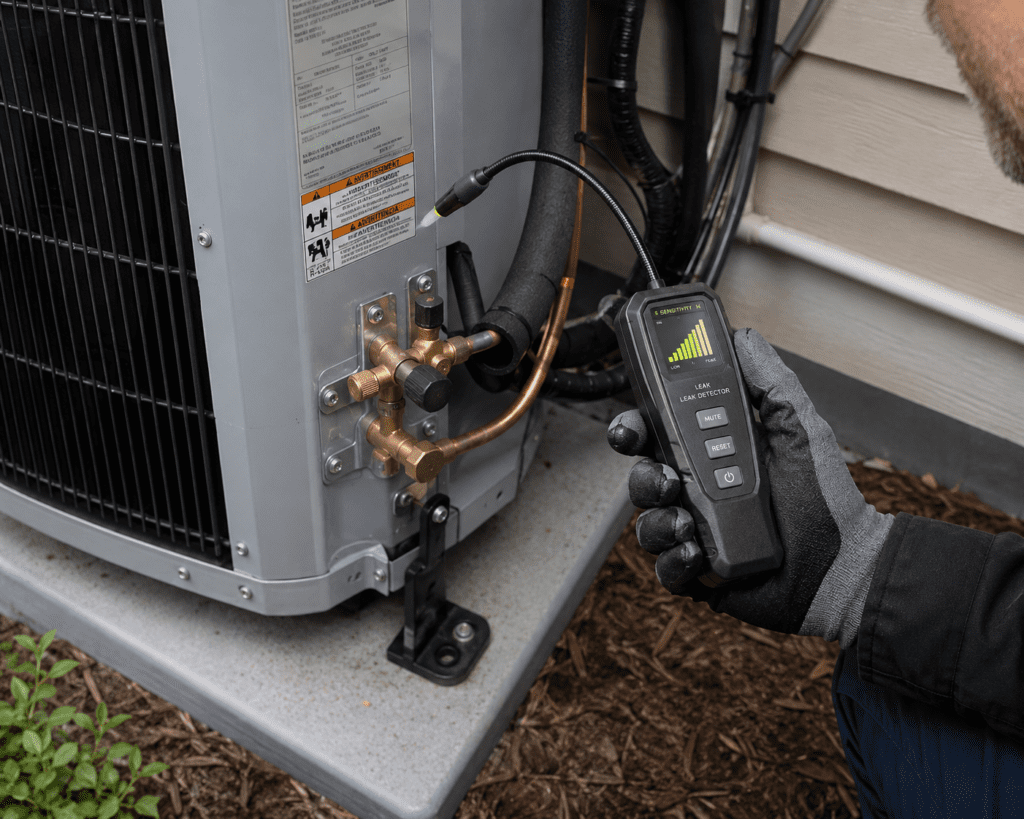
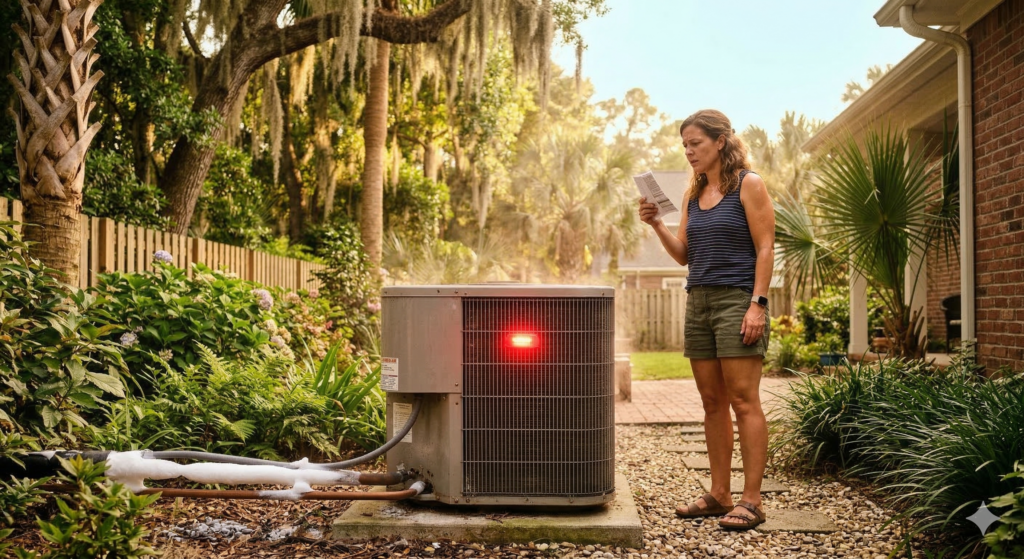
AC Refrigerant Leak: Signs, Causes, and Why It’s a Bigger Repair in 2026
AC Refrigerant Leak: Signs, Causes, and Why It’s a Bigger Repair in 2026 By the Coastal Carolina Comfort team · Last updated 2026-05-20 A leaking AC is not just inefficient
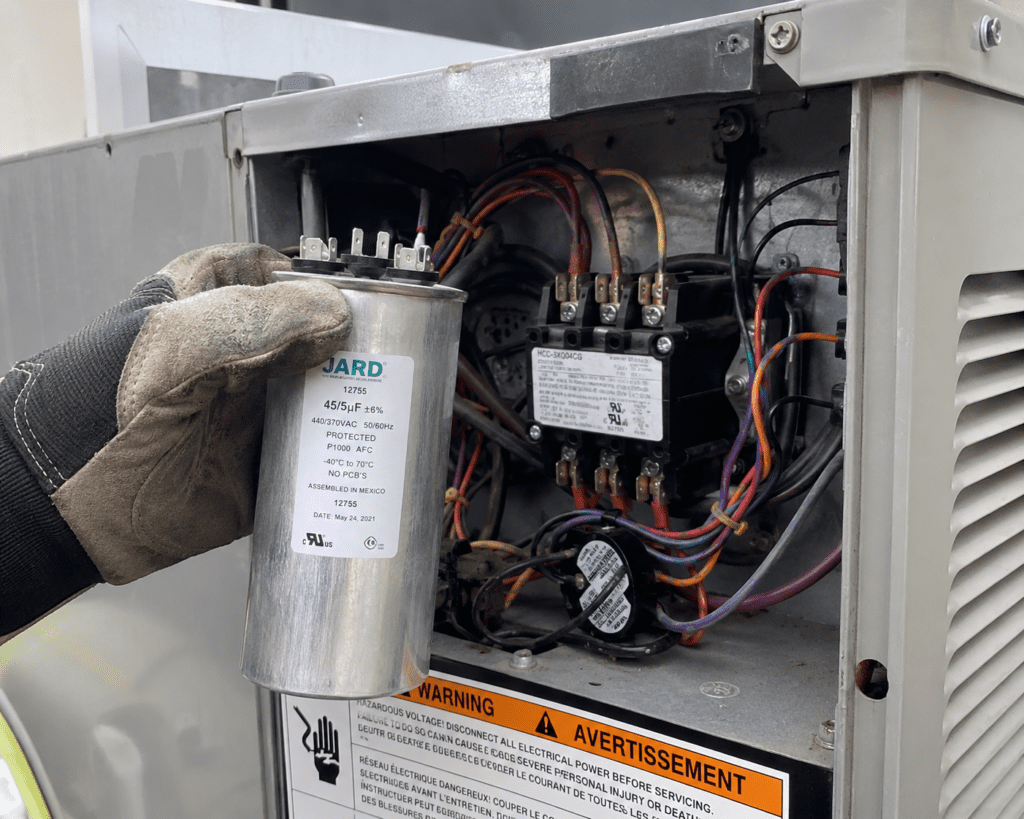
AC Capacitor Failure: Why It Happens and How to Recognize It
AC Capacitor Failure: Why It Happens and How to Recognize It By the Coastal Carolina Comfort team · Last updated 2026-05-20 Capacitors are the small components that start your compressor

AC Not Blowing Air? A Lowcountry Diagnostic When the System Runs but the Vents Are Quiet
AC Not Blowing Air? A Lowcountry Diagnostic When the System Runs but the Vents Are Quiet [AUTHOR — Coastal Carolina Comfort technician] · Updated for the 2026 cooling season ·
AC Making Strange Noises? A Sound-by-Sound Diagnostic for Lowcountry Homeowners
AC Making Strange Noises? A Sound-by-Sound Diagnostic for Lowcountry Homeowners [AUTHOR — Coastal Carolina Comfort technician] · Updated for the 2026 cooling season · ~8 minute read Quick Answer Match

AC Won’t Turn On? A Lowcountry Diagnostic Flowchart Before You Call
AC Won’t Turn On? A Lowcountry Diagnostic Flowchart Before You Call [AUTHOR — Coastal Carolina Comfort technician, credentials TBD] · Updated for the 2026 cooling season · ~7 minute read
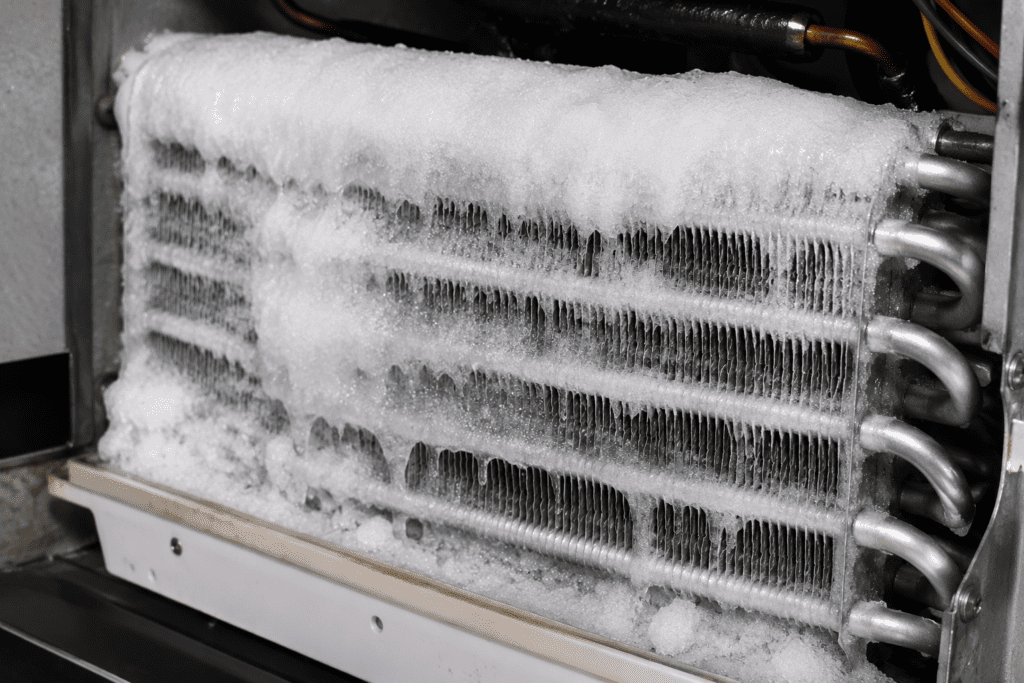
AC Frozen Evaporator Coil: Why It Happens in Lowcountry Humidity and How to Thaw It Safely
AC Frozen Evaporator Coil: Why It Happens in Lowcountry Humidity and How to Thaw It Safely [AUTHOR — Coastal Carolina Comfort technician, credentials TBD] · Updated for the 2026 cooling
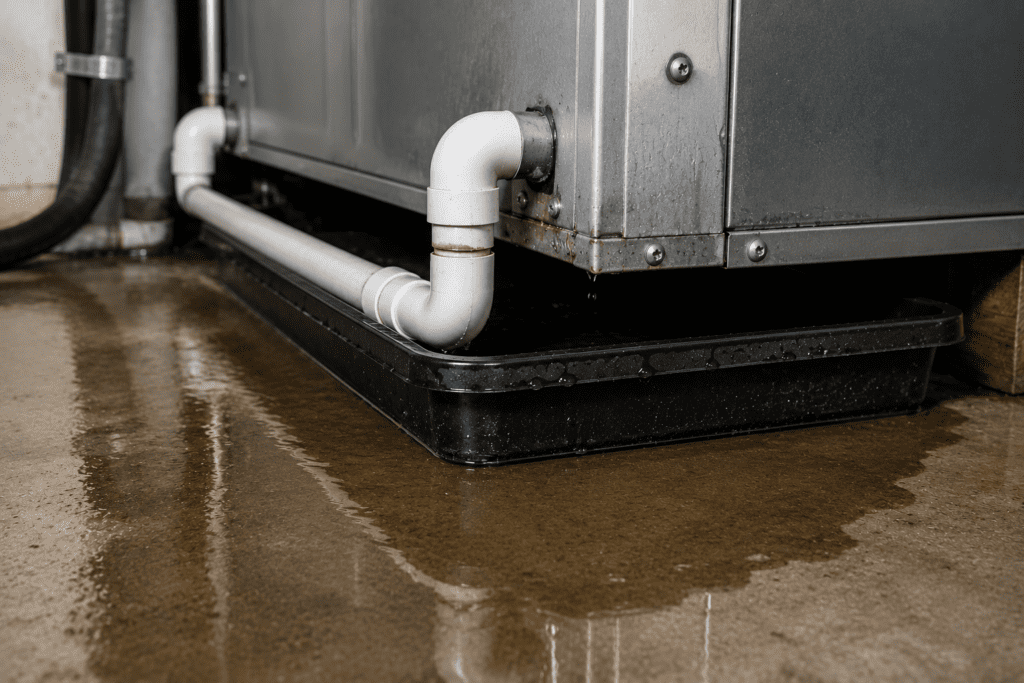
Why Is My AC Leaking Water Inside My House? A Lowcountry Diagnostic Guide
Why Is My AC Leaking Water Inside My House? A Lowcountry Diagnostic Guide [AUTHOR — Coastal Carolina Comfort technician, credentials TBD] · Updated for the 2026 cooling season · ~9
AC Keeps Turning On and Off? A Lowcountry Short-Cycling Diagnostic
AC Keeps Turning On and Off? A Lowcountry Short-Cycling Diagnostic [AUTHOR — Coastal Carolina Comfort technician, credentials TBD] · Updated for the 2026 cooling season · ~8 minute read Quick
AC Not Cooling
Lowcountry HVAC diagnostics · Coastal Air Plus AC Not Cooling? A Lowcountry HVAC Owner’s Diagnostic Walk-Through If your central air is running but the house isn’t getting any cooler, the
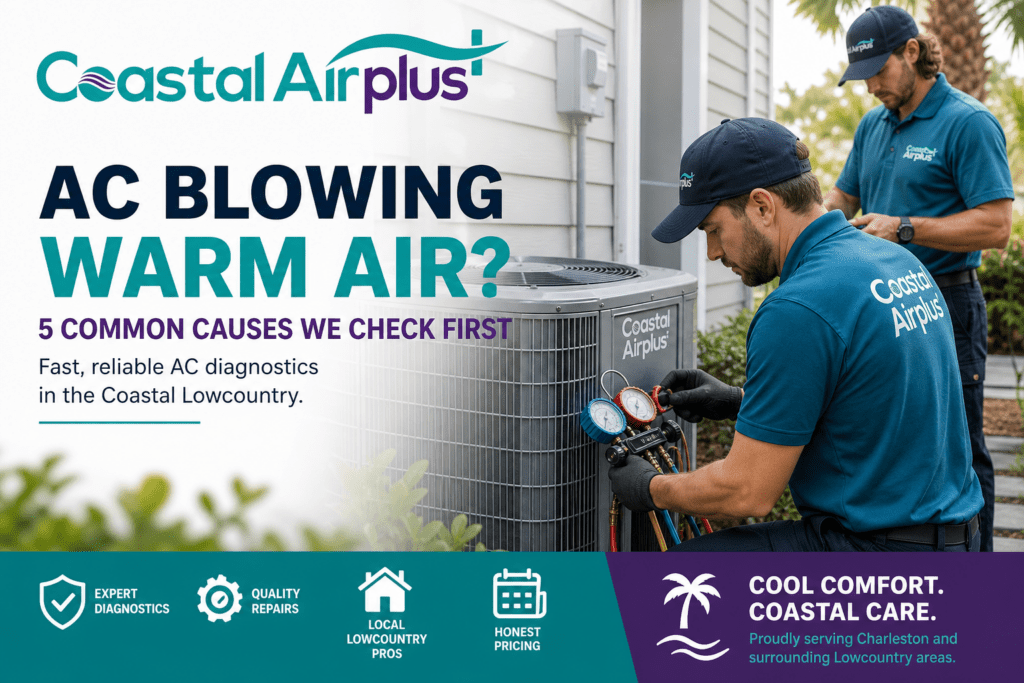
AC Blowing Warm Air
Symptom Guide · AC Repair AC Blowing Warm Air: A Lowcountry Diagnostic and Repair Guide Warm air out of the vents is one of four real failure modes. The longer
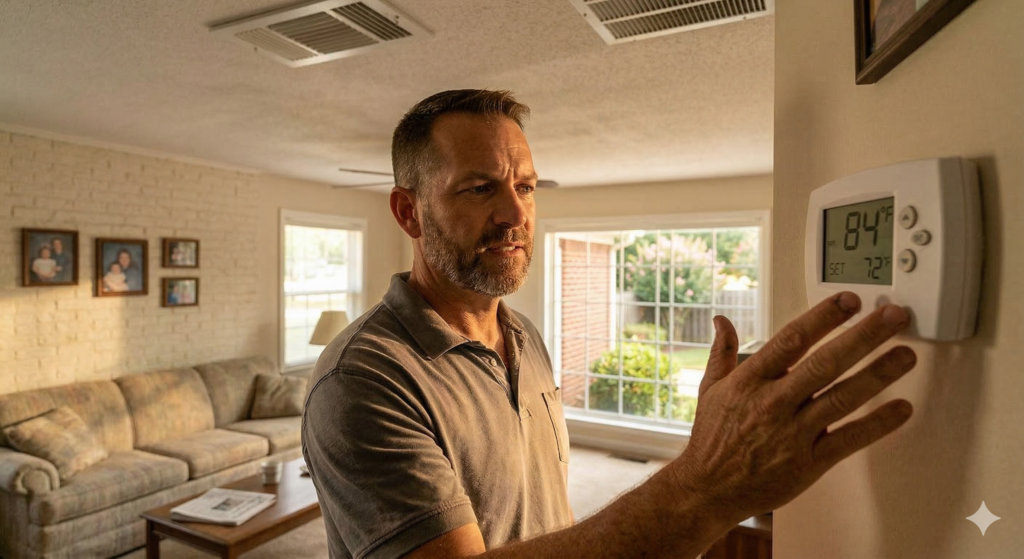
Why Is My AC Running But Not Cooling the House?
Why Is My AC Running But Not Cooling the House? When your AC runs continuously but your home isn’t reaching the set temperature, the system is either failing to produce
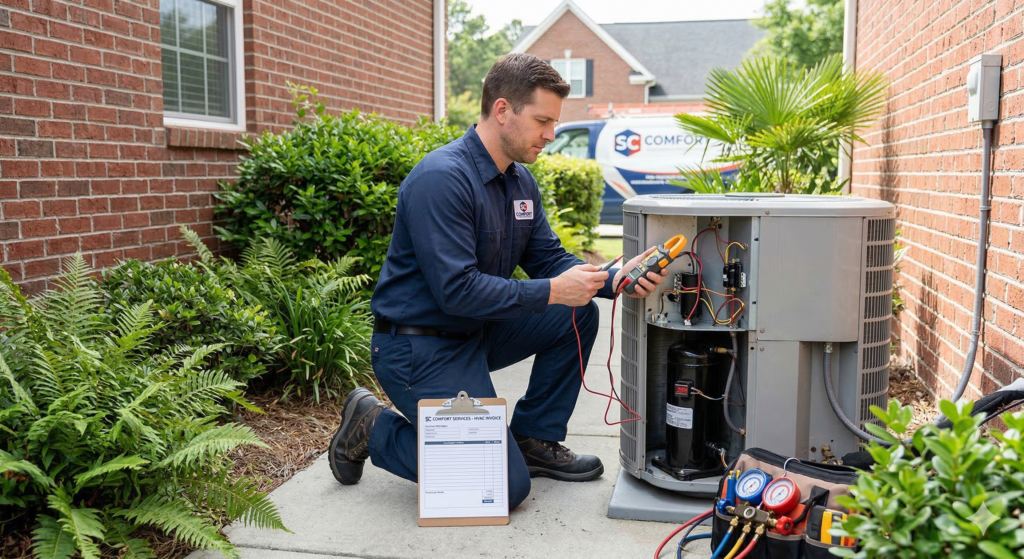
How Much Does AC Repair Cost in Columbia, SC?
How Much Does AC Repair Cost in Columbia, SC? AC repair in Columbia, South Carolina typically costs between $150 and $650 for the most common residential repairs, including capacitor replacements,
Emergency AC Repair in Columbia & the South Carolina Midlands
Emergency AC Repair in Columbia & the South Carolina Midlands When your air conditioning fails in Columbia, SC, during a 100°F heat index afternoon, you need a technician at your

The Lowcountry Climate and Your AC: What South Carolina Humidity Does to Your Cooling System
The Lowcountry Climate and Your AC: What South Carolina Humidity Does to Your Cooling System The South Carolina Lowcountry has one of the most demanding climates for residential air conditioning

How to Choose an AC Repair Company in the Lowcountry
How to Choose an AC Repair Company in the Lowcountry Choosing the right AC repair company is a decision that affects your comfort, your safety, and your wallet. In the
Why Regular AC Maintenance Prevents Costly Repairs
Why Regular AC Maintenance Prevents Costly Repairs Professional AC maintenance is the single most effective way to prevent unexpected breakdowns, extend your system’s lifespan, and keep repair costs low over
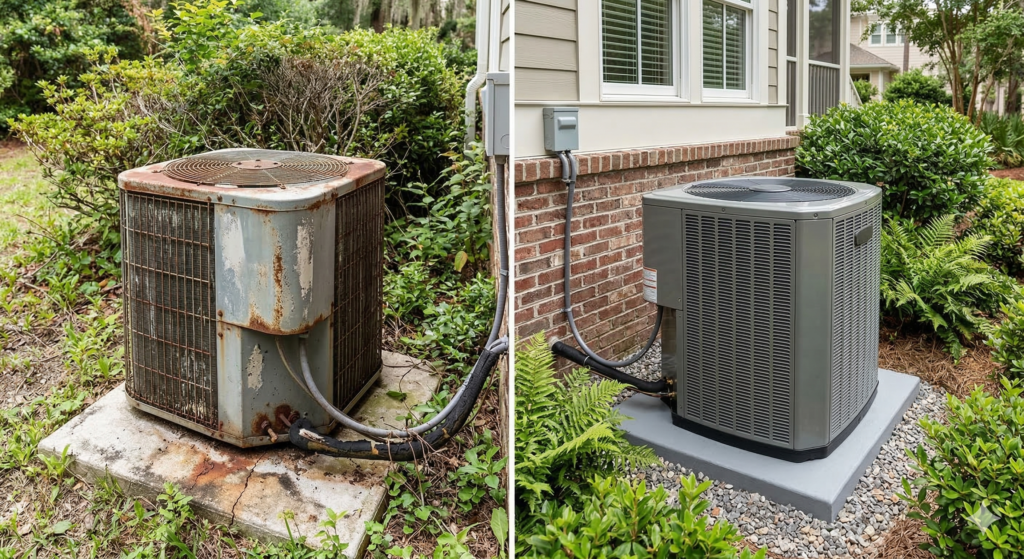
AC Repair vs. AC Replacement: How Lowcountry Homeowners Should Decide
AC Repair vs. AC Replacement: How Lowcountry Homeowners Should Decide Deciding whether to repair or replace your air conditioning system is one of the most consequential financial decisions a homeowner
How Much Does AC Repair Cost in South Carolina?
How Much Does AC Repair Cost in South Carolina? The average cost of AC repair in South Carolina ranges from $150 to $650 for common fixes like capacitor replacements, refrigerant
Emergency AC Repair: What to Do When Your AC Breaks Down in the Lowcountry Heat
Emergency AC Repair: What to Do When Your AC Breaks Down in the Lowcountry Heat A complete AC failure in the South Carolina Lowcountry during summer is not just an